How to Make the Best Handmade Cards Around
Cards create a big divide in opinion: some of us love them and some of us hate them.
I know right? Hard to believe that there are people out there who actually believe that cards are a waste of time and money but alas, it is true. These are not views that we at Hot Pink hold however. No no no, we LOVE cards. We love their sentimental value, their beauty and their meaning. A card is really just the physical form of a thought. Whether it’s a ‘Happy Birthday’, ‘Thank you’, ‘Merry Christmas’ ‘Congratulations’, ‘With sympathy’, ‘Good luck’, ‘Sorry you’re leaving’ or ‘New Home’, a card tells the recipient that you’re thinking of them and sending you good wishes.
We believe cards are personal things that require great thought; whether that’s when picking them out at a shop, or making them yourself. Cards are relevant all year round in many shapes, sizes and forms and we love them!
Whilst many shop-bought cards are lovely, funny, beautiful and sentimental, there’s nothing quite like receiving a hand-made card. Not only will this mean that the card is wholly unique, it means that you get a piece of the person’s time, effort and creativity too.
We want to help give you some ideas on how to create some stunning cards for a plethora of occasions using our very own haberdashery products and here is what we have…

Happy Birthday
The most common card that we’re desperately trying to stop from dying out! With communication becoming easier and easier, many people are replacing their cards with texts, Facebook messages, Snapchats, Whatsapps etc. Although receiving messages like this are nice, nothing replaces a hand written card.
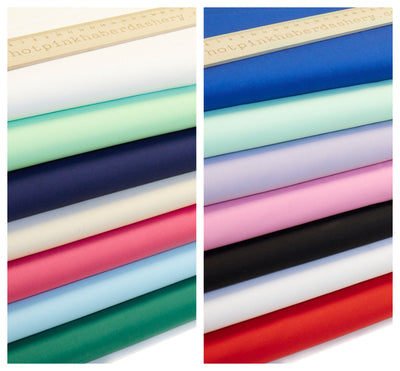
Choose from our range of cotton fabrics to put over cardboard to create a soft, homely card. We suggest then sewing your message on and using buttons and string to create balloons.
Thank you
Whatever you’re saying thank you for, if it’s important enough to warrant a card, it’s important enough to make a hand-made card! Make your card themed to what you’re thanking them for: a present, a party, helping you with DIY, attending your wedding etc.
Make your Thank you card personal by putting a name in somewhere either by writing it with a calligraphy pen or using a glue pen and covering it glitter, waiting for it to dry then shaking it off.
Merry Christmas
As you’ll probably be crafting these in bulk, we suggest making these as simple (and festive!) as possible. Why not create a robin by putting a brown cut out circle of felt with a red piece on top, use a piece of your favourite fabric to create a big bauble, or use our Christmas themed fabric to cover your card with
With Sympathy
Probably one of the most personal and sentimental of all are ‘With sympathy’ cards. These cards are reserved for some of the saddest times in a person’s life which is why it’s so important that you make these cards as special as they can possibly be. We suggest creating a floral card with bright colours but appropriately plain and sombre background.
You can do this by using watercolours to paint your background with and then either draw on a flower or even attached a fake flower to the front.
Good Luck
Give somebody the boost of luck they need whatever endeavour they’re starting on! Although pretty obvious, we recommend creating a horseshoe or 4 leaf clover to represent the good luck vibes you’re sending their way.
Thinking of You
For whatever reason, you want to let a loved one know they’re in your thoughts. We suggest creating something revolving around nature: flowers, a sky with clouds or an animal. You could do this by sketching, painting, or using liquid crafts such as our Dovecraft liquid pearls for a gentle, harmonious style card.
Congratulations
A congratulations card warrants bright colours, champagne bottles and balloons. Cut your own champagne bottle silhouette out of cardboard and decorate it with glitters and ribbons to give it that real celebratory feel.
Wedding
Cover your card in satin, lace and everything white! Go for a classic bride and groom ensemble with a twist by using glue to create an outline of the happy couple then using glitter (potentially black for the groom and silver for the bride), cover the card with it before shaking it off. You’ll then be left with a bright, fun card that you can personalise with names, dates and other little bespoke features!
It’s a Boy/Girl!
There are so many different options to go for with a new baby card. We recommend going for a soft card – one that is covered in fabric. Try using our pick n mix patchwork squares to create a gentle, homely feel to your card. Depending on boy or girl, choose a blue or pink theme; or if you prefer gender neutral, choose a pastel green.
On this, you can then create your main focus point. Perhaps knit a sock, use a cardboard cut out of a dummy, decorate it with ribbons and put baby’s name in the middle. The options are endless!


Leave a comment