How to make a reversible summer tote bag
Now that Easter has passed, it is definitely time to start planning for the next big event… Summer!
In the wake of climate protestors, World Earth Day, the breaking down of ‘fast fashion’ popularity, there has never been a better time to ensure that you do your bit for the planet by moving away from mass produced clothes, accessories and homeware and try to do as much as you can on your own. There’s a growing trend (that we’ve of course always been on board with) to bring as much production in your home as possible; from food to clothes, cosmetics to decorations, here in the UK people are beginning to turn to their own skills to create what they need and what they love.
We’re huge endorsers of the current DIY movement and would like you to be too…. Not only is making your own bits and bobs helping to reduce the strain on the earth’s resources, it’s a fab way to create some highly unique items that you can show off all summer long. So, how can we help you with this? Well, this month we’ve pulled together a guide on how you can make your own reversible tote bag.
These are super easy to make on a sewing machine so you can make multiple ones and give them to the family or as gifts to friends.
Here’s how you make them...

What you will need:
- Four pieces of fabric that are 13.4 inches X 14 inches
- Two of these pieces will be the outside of your bag so should be one pattern of fabric
- The other two pieces will be the inside of your bag and should therefore be a different pattern of fabric
- Another piece of different fabric that is 4 inches by 44 inches long
- A sewing machine
Find your fabric:
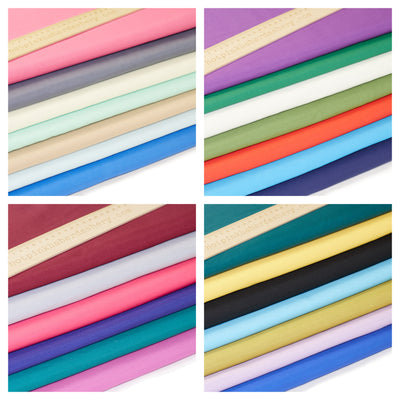
- Select your three fabrics. There’s no right or wrong here, just what your personal preference is. We do however recommend the brighter the better for summer and to pick patterns that are either similarly harmonious or provide a nice contrast - We have a fantastic selection of cotton fabrics, fashion fabrics, craft fabrics and polycotton fabrics that are ideal for this project so take your pick!
How to make the straps:
- Cut a piece of 4 inch X 44 inch fabric and fold it in half lengthwise
- Once folded so there’s a crease, open the fabric up and press each outside edge to the centre. From here, fold the fabric in half and press
- Now, you can cut your fabric so you have two straps which are about 22 inches long
- Then topstitch down each of your strap nice and close to the edge
How to make the tote:
- Cut your four pieces of fabric in two different patterns: one for lining and one for the outside. These should both be 13.5 inches X 14 inches
- Lay your lining fabric with the right sides together and then sew on three sides – leave one side open which will be the top of your bag
- Next, sew your outer fabric pieces with the right sides together on three of the sides
- Now it’s time to ‘box’ the bottom of your bag! Pinch the bottom corners together and stitch across 1.5 inches from the corner. You do this for the lining and the outer fabric also. Repeat this step until all four corners have been sewn
- Place the lining fabric inside the outside fabric with the right sides together
Putting them together:
- You can now take your earlier made straps and place them in between the right sides of fabric on each side, about 2-3 inches from the edge
- Pin the straps and the top edge of the bag together well before stitching around the top of the bag around 0.5 inches from the edge. Be sure to leave a 2-3 inch opening for turning the bag
- Now turn your bag inside out!
- Push the lining inside the bag and topstitch all the way around to hem the top of the bag. This will close up the opening that’s used for turning
- Topstitch the seam to make it more durable so that it won’t strain and pull apart if you use your summer tote to carry heavy essentials
Now you should have your beautiful finished tote bag! Don't forget to send us photos of your completed product... We love seeing them - the quirkier the better!


Leave a comment