


How to Make a Patchwork Square Quilt
What you will need:
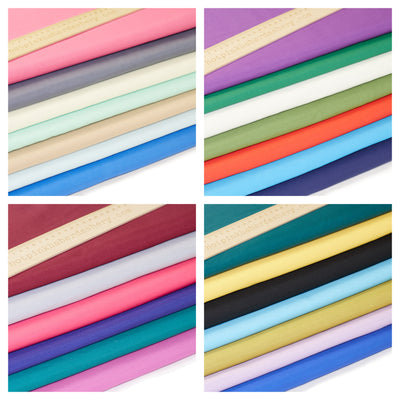
- Hot Pink Haberdashery’s famous Patchwork squares
- Plain fabric for the underside of the quilt
- Fabric scissors
- Pins
- Coloured thread
- Sewing machine/needle and thread if you’re doing it by hand
- Batting (to go inside the quilt)
- A design either on paper or collated from inspirational online images!
How to begin:
To start with, you’ll find it extremely useful to lay out your patchwork squares on the floor or on a table in the design you wish to complete it in. Play around with the different prints and colours until you find the design you’re happy with! You may want to take a photo of it in case you have to tidy it away later.

1. Now you have your design, let’s start sewing! Get two patches and place them with their printed side facing inwards (later on you’ll be turning them inside out!). Allow a seam of around 6mm so that you can securely stitch the patchwork squares together. Use a basic running stitch to sew them up just one of the sides.
2. Join more patches until you’ve completed a block - which is one square portion of the whole quilt. When all of your blocks have been finished, you’ll need to join them all to create your one big quilt. It’s a lot easier to do it this way than to sit and try and do the whole thing in one go. Once you’ve stitched all the blocks together, iron the fabric to flatten all of the seams.
3. Get the plain piece of fabric that you want to use for the underside of your quilt and lay it flat out. Place the batting on to and cut so they are the same size as your quilt top! Then place your quilt on top of that, right (printed) side up. To keep the fabric in place you can either tack (a very light and quick stitch that you will then remove after they’ve been stitched properly) the fabrics together or just use your pins.
4. Choose your piece of thread and starting in the centre of the quilt, working outwards, stitch through all three layers around the individual blocks (you can do this by hand or on the machine).
5. Making the binding: the binding is a border that’s added to the quilt in order to protect the seams - most duvets have them at the top and bottom to add a finished look. For this you will need to cut out four separate strips of fabric (any of your choosing or use the same fabric as you used for underneath the duvet), about 12cm wide and of the same length as each side of your quilt (factoring in an extra 25mm that will get stitched under).
6. Make a 6mm fold along each of the long edges and iron it flat. Then fold the strip in half lengthways to make a long thin piece of fabric. Pin one side of the strip along the edge of the printed top quilt and then pin the other side of the strip to the underside of the quilt.
7. Once you’ve done this around the whole of the quilt you can stitch the strips into place and YOU’RE DONE! Congratulations; you just made your first patchwork square quilt!

Leave a comment