


5 Staple Items you can make yourself for your Summer Wardrobe
It’s the end of May and we’ve given ourselves permission to finally start thinking about summer! The great British summer is something we often joke about - it’s a season full of scattered sunshine, rain showers, jackets one day and shorts the next, tea dresses, ice cream, Pimm’s and of course, Victoria sponge cake! It’s a time of beautiful unpredictability on this little island of ours and we love to celebrate it in all its glory year in and year out.
This year, we’ve already seen some beautiful weather and not sure about you, but we’ve been thinking of how much we need some new additions to our summer wardrobes! As usual, we always turn to our haberdashery skills first before we head to the shops, so we’ve given you 5 staple items you can make yourself for your summer wardrobe this year and how to make them!

- The Summer Dress
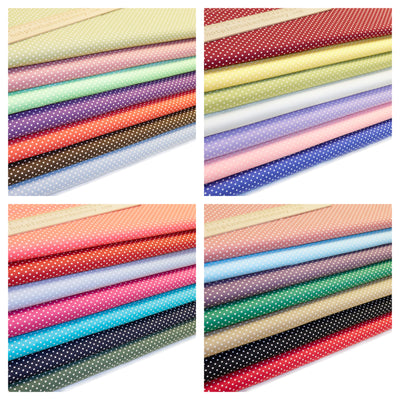
First of all, you’ll need to find your fabric - we have a lovely range of cotton fabrics that are perfect for a light summer dress that’s also easy and natural. You’ll need around1.8-2.7m of this fabric before you then select your pattern! Because dresses can be quite complicated, you’re best off choosing a pattern to cut from. Start cutting your fabric from the pattern and then you can begin sewing! We recommend starting with the necklace and finishing with the hem. You can then add a zip to the side of back of the dress to make it easier to get in and out of.
For fuller instructions click here
- Crop Top
The season of crop tops is well and truly upon us and this is a super easy option for those looking for a quick customisation. We recommend choosing a top that’s either a little old or that you don’t care too much about because you’re going to cut it up! First of all you will need to measure where you want your top to come up to, so put the already existing top on and measure to what point you want it cut - remember, if it’s a baggier top, you’ll probably want to make it a little longer as it will rise up easily when you move your arms. Then simply, steadily cut the top to the length you want, leaving about half an inch for the hem. Hem it, and you’re done!
- Patchwork Square Skirt
This one will be more time consuming but so worth the end result! The first thing you’ll need to do is get your hands on some patchwork squares. Try and pick a particular colour scheme so you can choose your patchwork squares accordingly so that your skirt will looked themed and stylish rather than mismatched (unless that’s what you’re aiming for of course!). You’ll then need to work out how many squares you need for how long and how big you want the skirt to be - remember you’ll need an equal amount for each side. Lay the squares out in the pattern you want them in so you can see them all lined up then you can begin to sew! Depending on the finished cut of the bought patchwork squares, you may need to recut them or fold them over if they have a zigzag finish. Sew your squares by row to keep a uniform method to your creation until you’ve got two sides of a skirt - then simply sew these together!
- Summer Shorts
What would a summer in Britain be without a staple pair of summer shorts? You want a pair that can see you through multiple occasions this year; from BBQs to trips to the beach, watching the cricket to playing rounders with the kids. For shorts, we recommend making your own pattern by tracing a pair of good fitting shorts that you already have - you can easily alter the length here to be longer or shorter than the pair you’re tracing. Then, pick your fabric! Again, here we’d recommend going for comfy cotton fabric that is breathable and can be washed easily. How bright, colourful or patterned they are is totally up to you! Cut your material (both legs!) and pin the seams together before braving the sew (inner thigh seams first). After this, you can create the waistband and pull the elastic through. Finally, hem your shorts and you’re done!
Follow more detailed instructions, click here
- Tie Dye Top
It’s not really the British summer until you’re parading around in a 70s style tie dye top is it?! This is also a great one to get the kids involved with because it’s a bit messy but doesn’t require any sharps tools! First of all you will need to get some fabric dye in multiple colours; be sure to follow the instructions on how to mix the dye carefully so there are no mistakes! We also recommend adding a cup of salt to the dye to help enhance the colours. Immerse the T-shirt in hot water first, wring out the excess water, and then soak in dye bath and stir frequently with a long-handled enamel or stainless-steel spoon. This process can take 10 to 30 minutes, depending on how strong you want your colours. After this, you’re ready to remove your T-shirt! Rinse it under warm, then gradually cooler water until it runs clear (wear rubber gloves so your hands don't get dyed!). Hey presto! There’s your groovy tie dye top!


Leave a comment